OpenOnDemand
OpenOnDemand
Open OnDemand is an open-source web portal run by researchers at the Ohio Supercomputer Center to facilitate access to supercomputing infrastructures, such as Deucalion. With OpenOnDemand, you can start a shell/desktop session, start jobs, directly initiate a jupyter notebook, and more!
To access the OpenOnDemand portal, go to login.deucalion.macc.fccn.pt. After selecting one login node based on availability, you will see this menu:
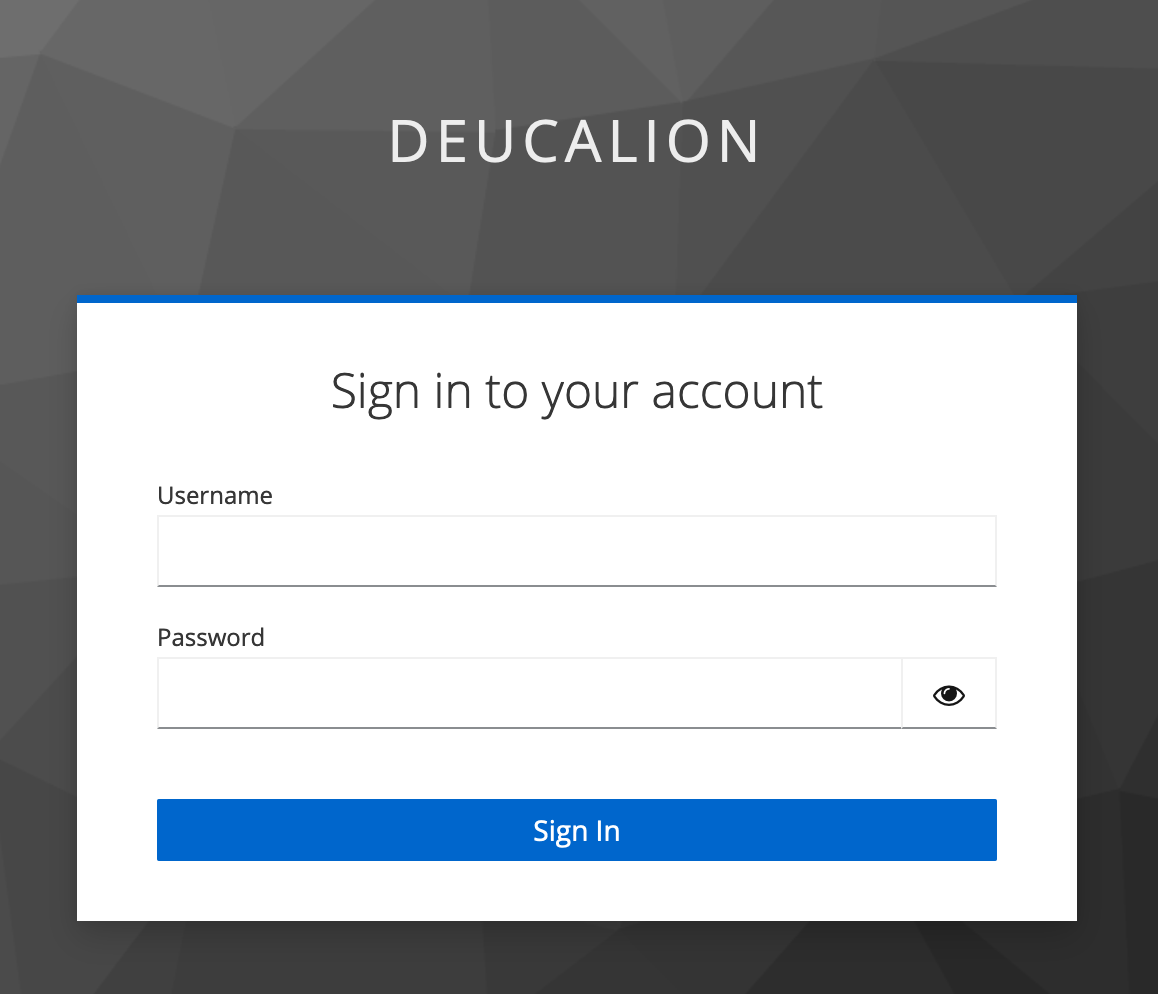
You should use the same username and password from the Deucalion Portal. After you put your password, you'll need to use the TOTP token from your authenticator app, just as in the portal.
After you log in, you will see the OpenOnDemand dashboard:
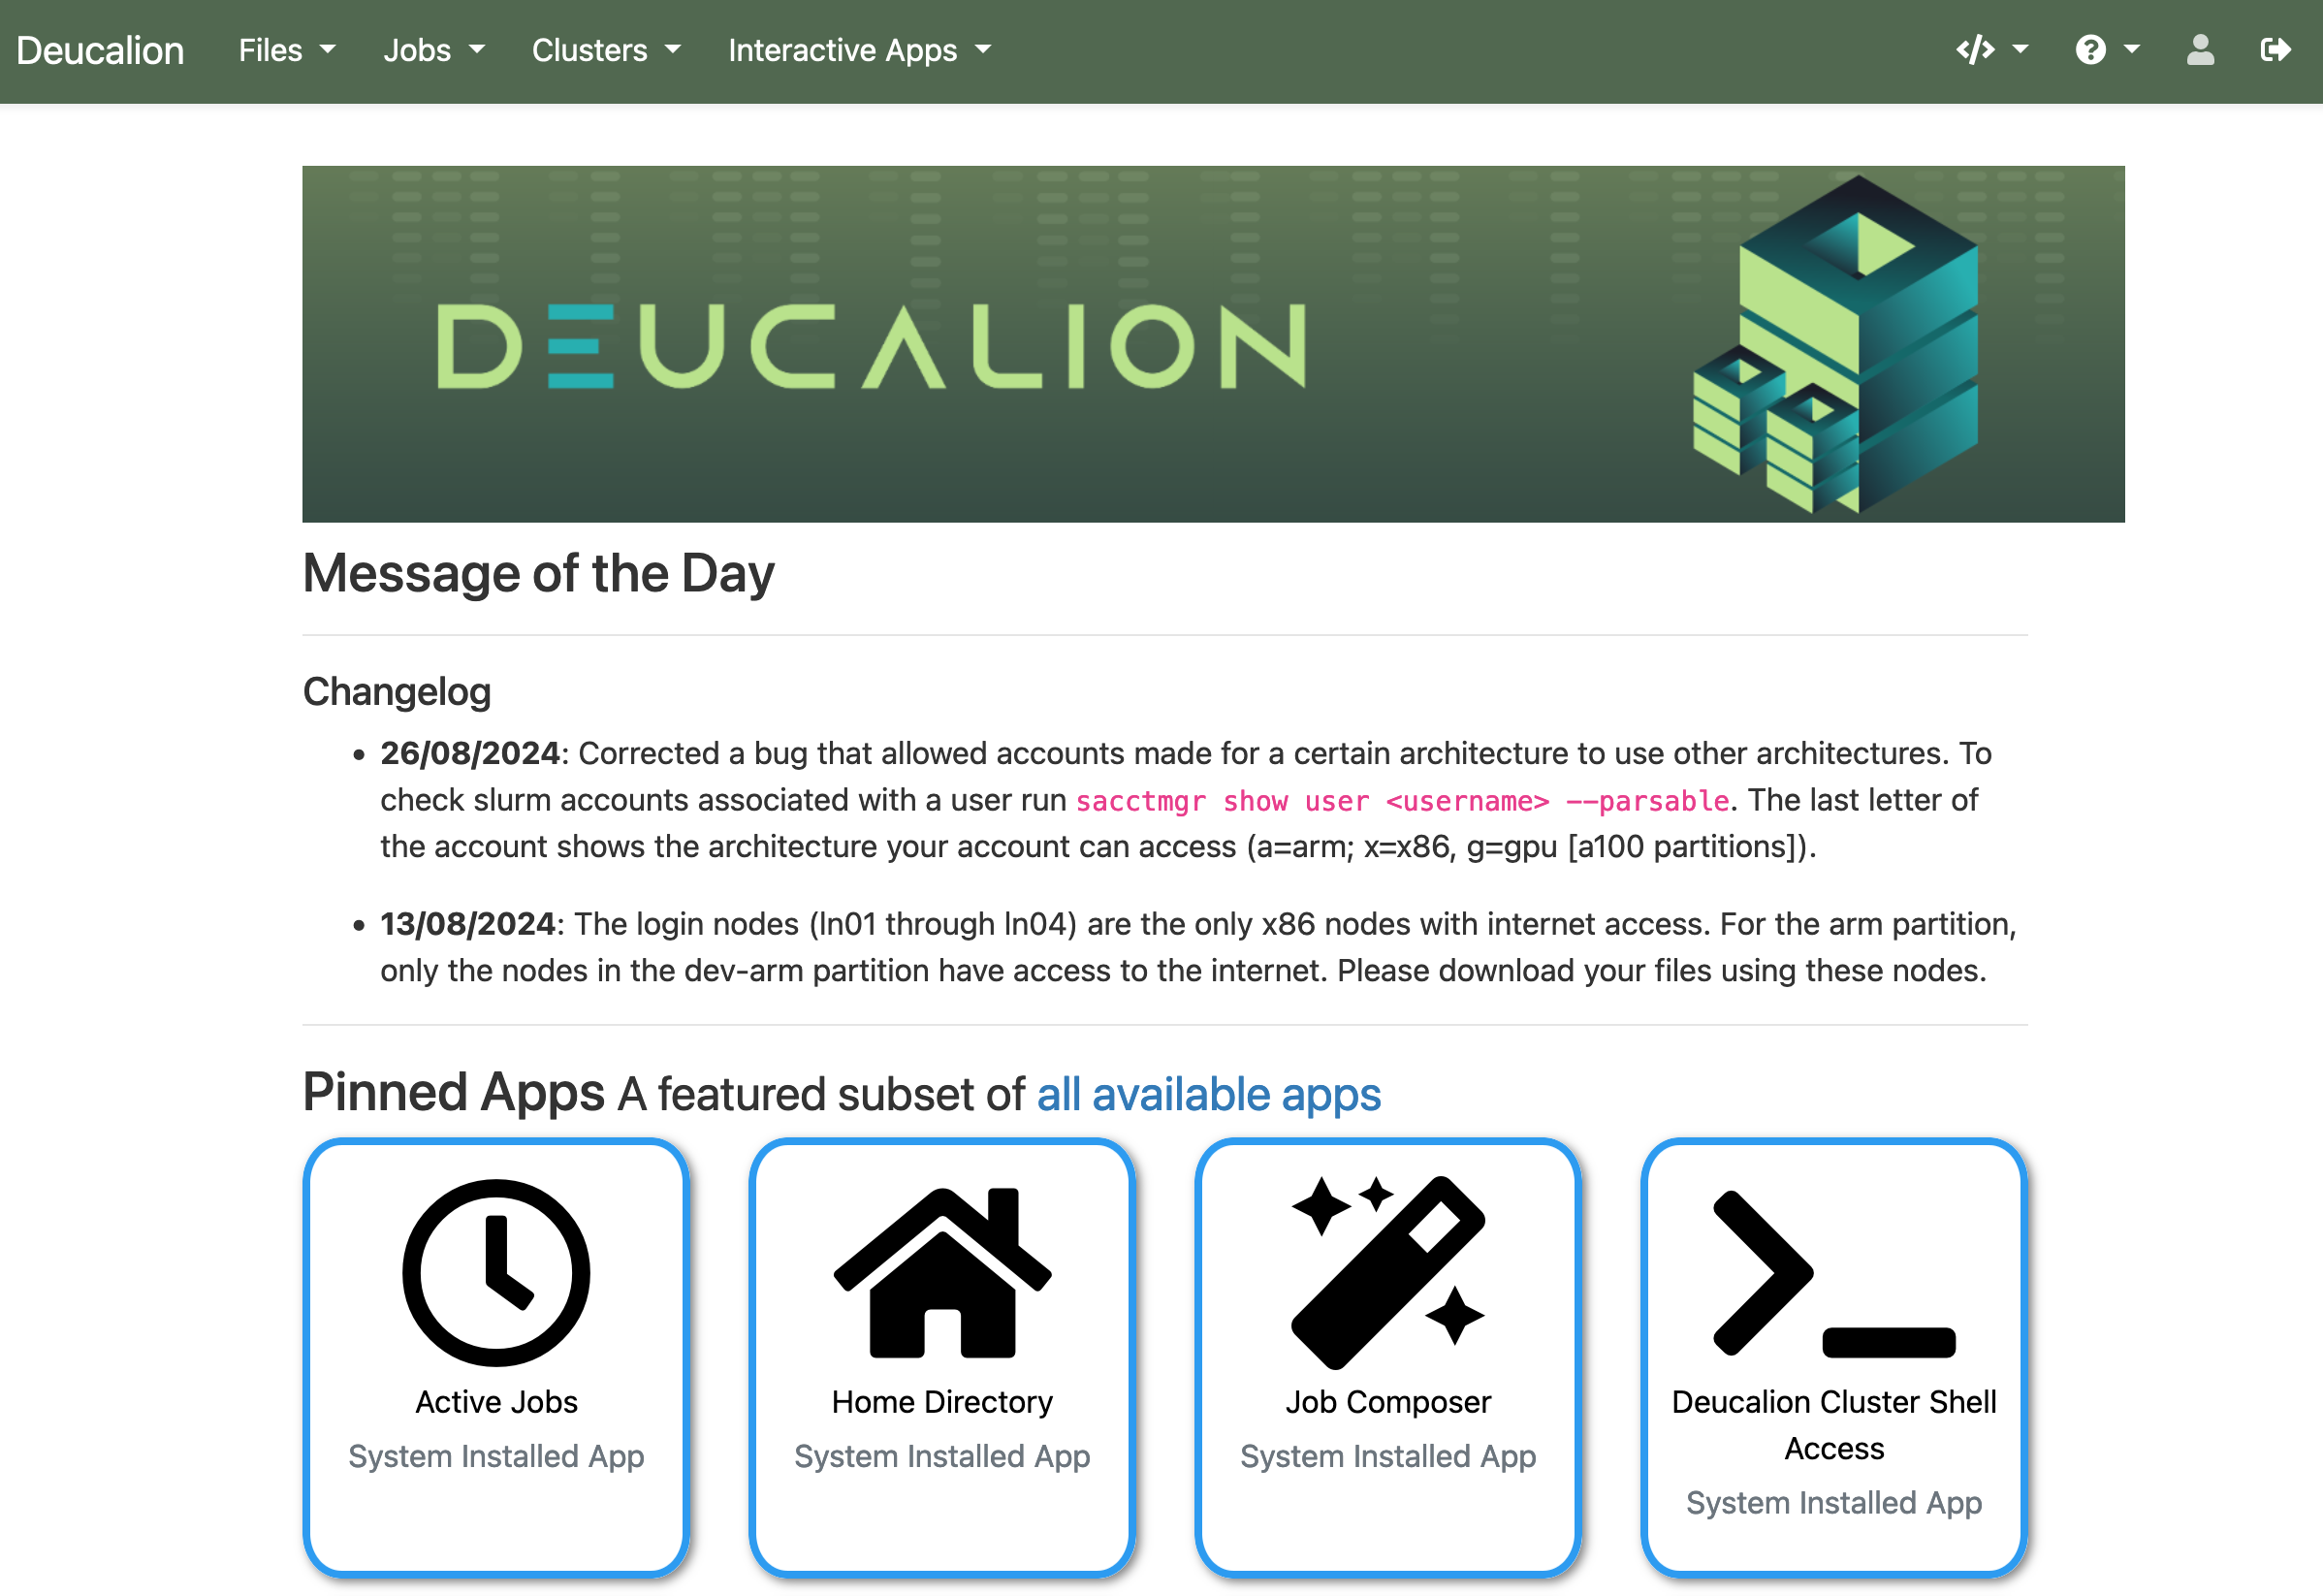
We will take a tour through the available apps.
Active Jobs
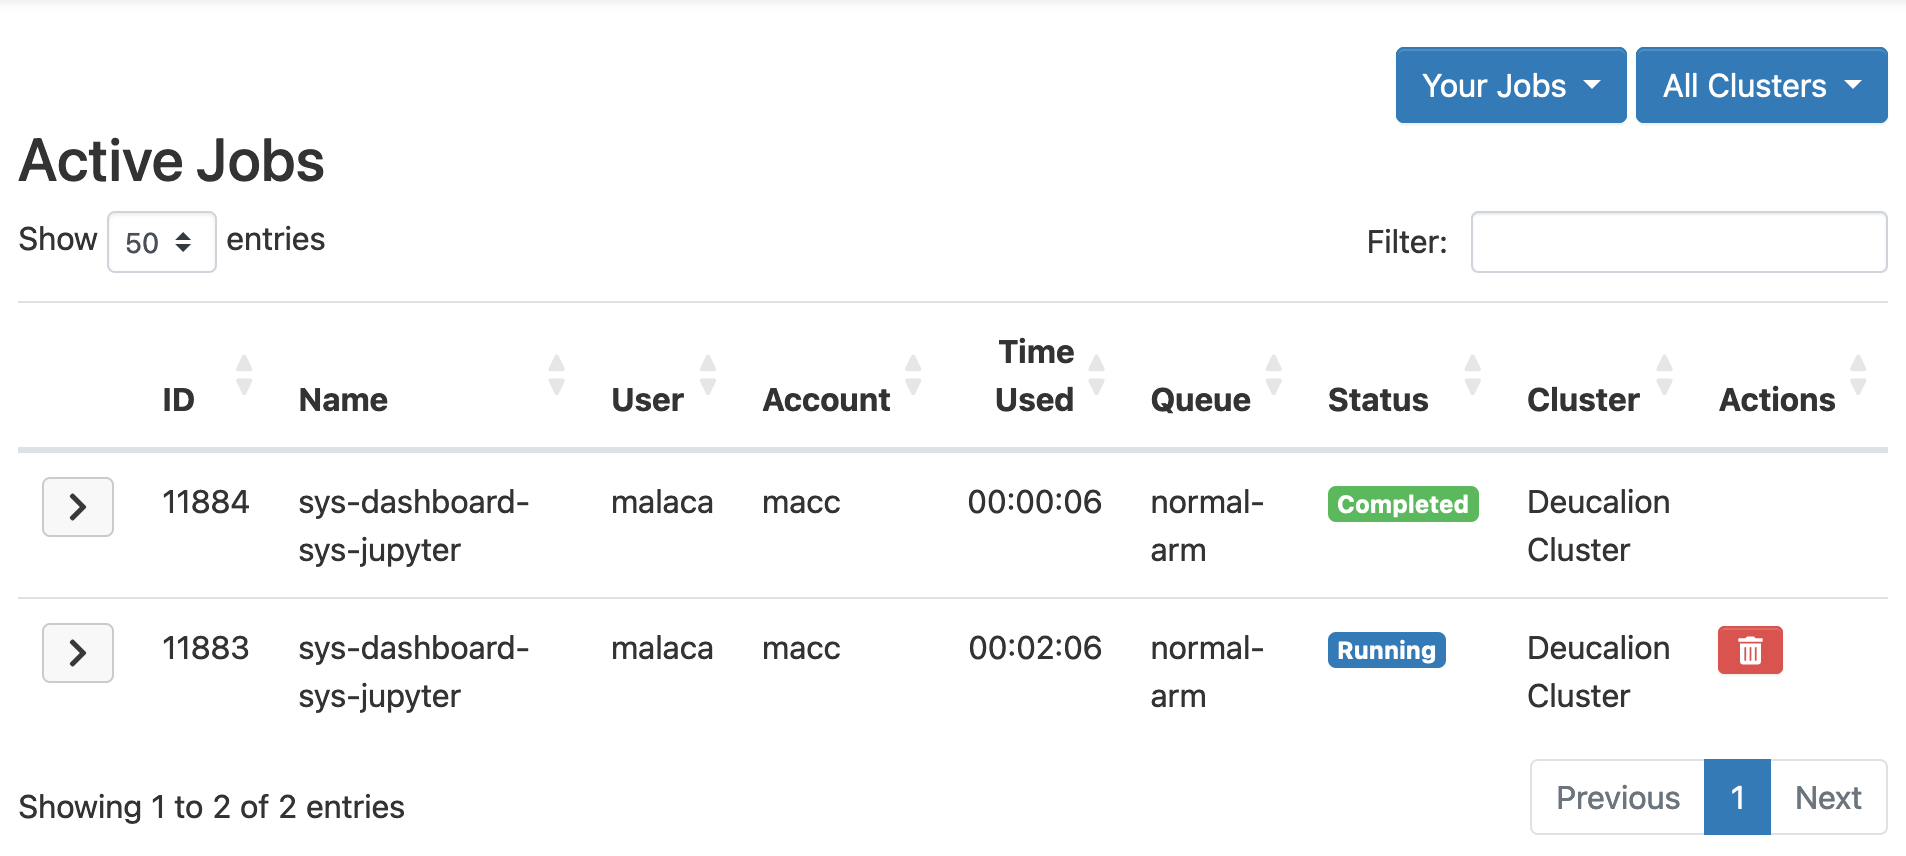
The Active Jobs app tells you how many applications are running at a certain moment in Deucalion. If you forgot to stop one application, you may do so here.
The output of this application after running two jupyter notebooks in the same session:
Deucalion Cluster Shell Access
The Deucalion Cluster Shell Access application allows to start a shell session inside the login node. This is useful if you do not have a laptop close to you. This application runs on one core in the
Job Composer
The Job Composer application allows you to start jobs directly from the web interface:
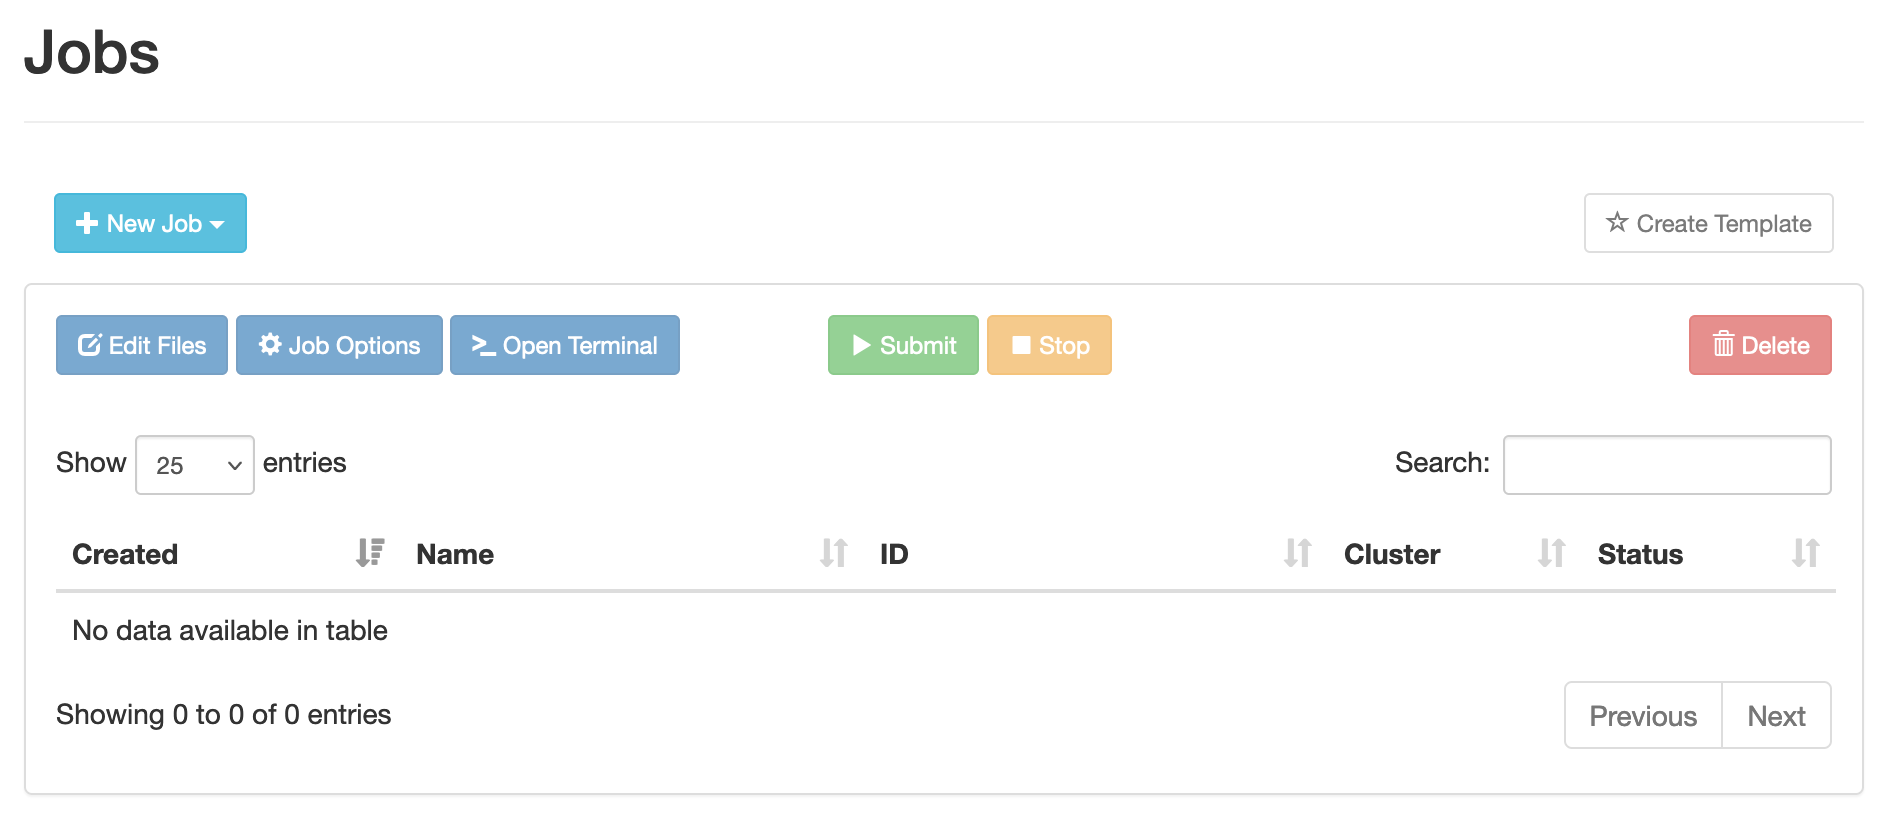
To generate a jobscript, you click the New Job button, which gives you some options:
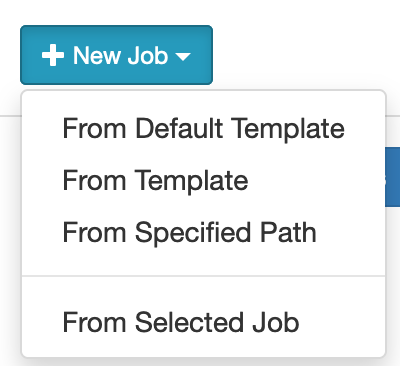
In the From Template option, you can select one of the templates we have for certain codes. Feel free to ask the support team to add more templates.
To add your private templates, follow the instructions in the OpenOnDemand documentation (you will need to create a folder at $HOME/ondemand/data/sys/myjobs/templates/).
If you need to change any line of code in the template, scroll down and click "Open Editor". After that, you can click "Submit" and await the result.
Desktop session
Notice: Since all nodes are exclusive, you cannot ask for less than a full node's capability. The minimum you can ask of an arm/x86 node is 48/128 cores, respectively. Using this app for one hour in those conditions will bill you 48/128 core-hours.
After clicking on the Desktop Session app, you see the app launcher:
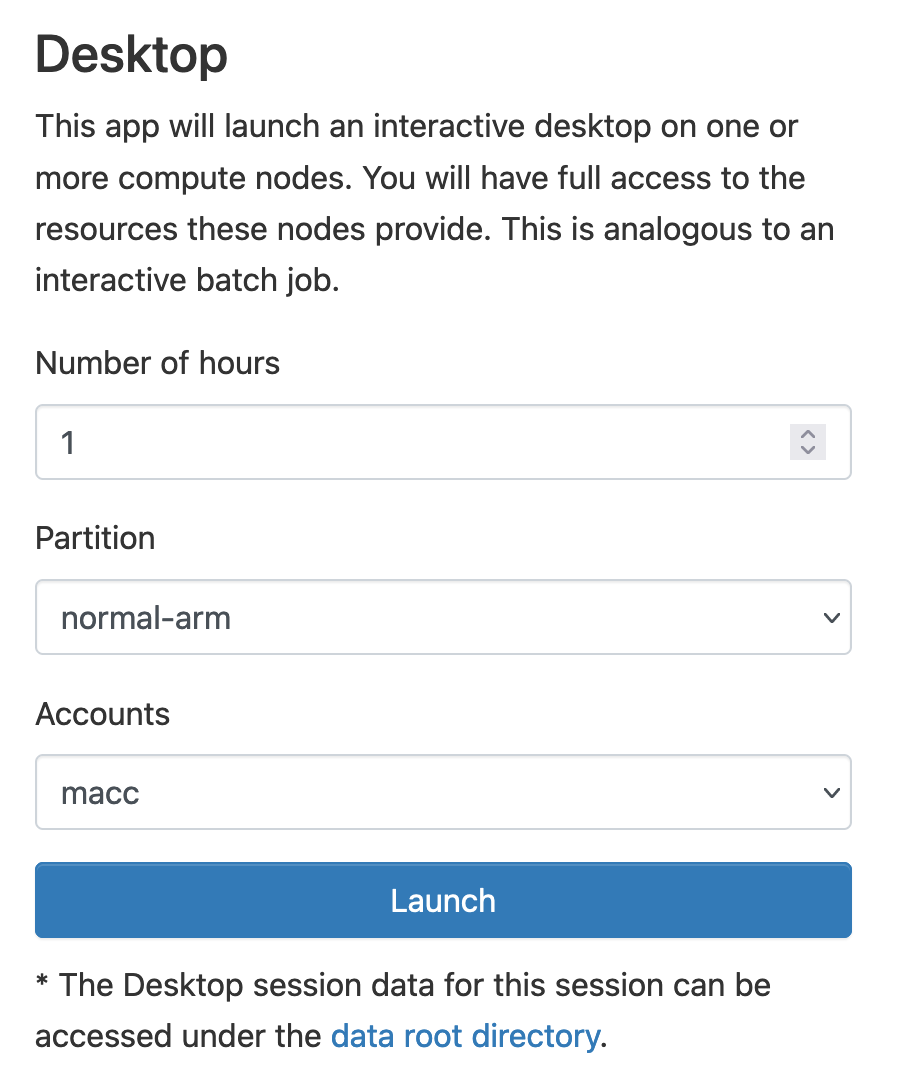
In this menu, you decide the number of hours, the partition where you wish to run the desktop session (both arm and x86 work), and your account (related to your project number).
After clicking "Launch", slurm queues your job. After some time (dependent on the cluster availability), the job starts to run. After setting up, you see the "Launch Desktop" button that allows you to connect and access the XFCE windows manager:
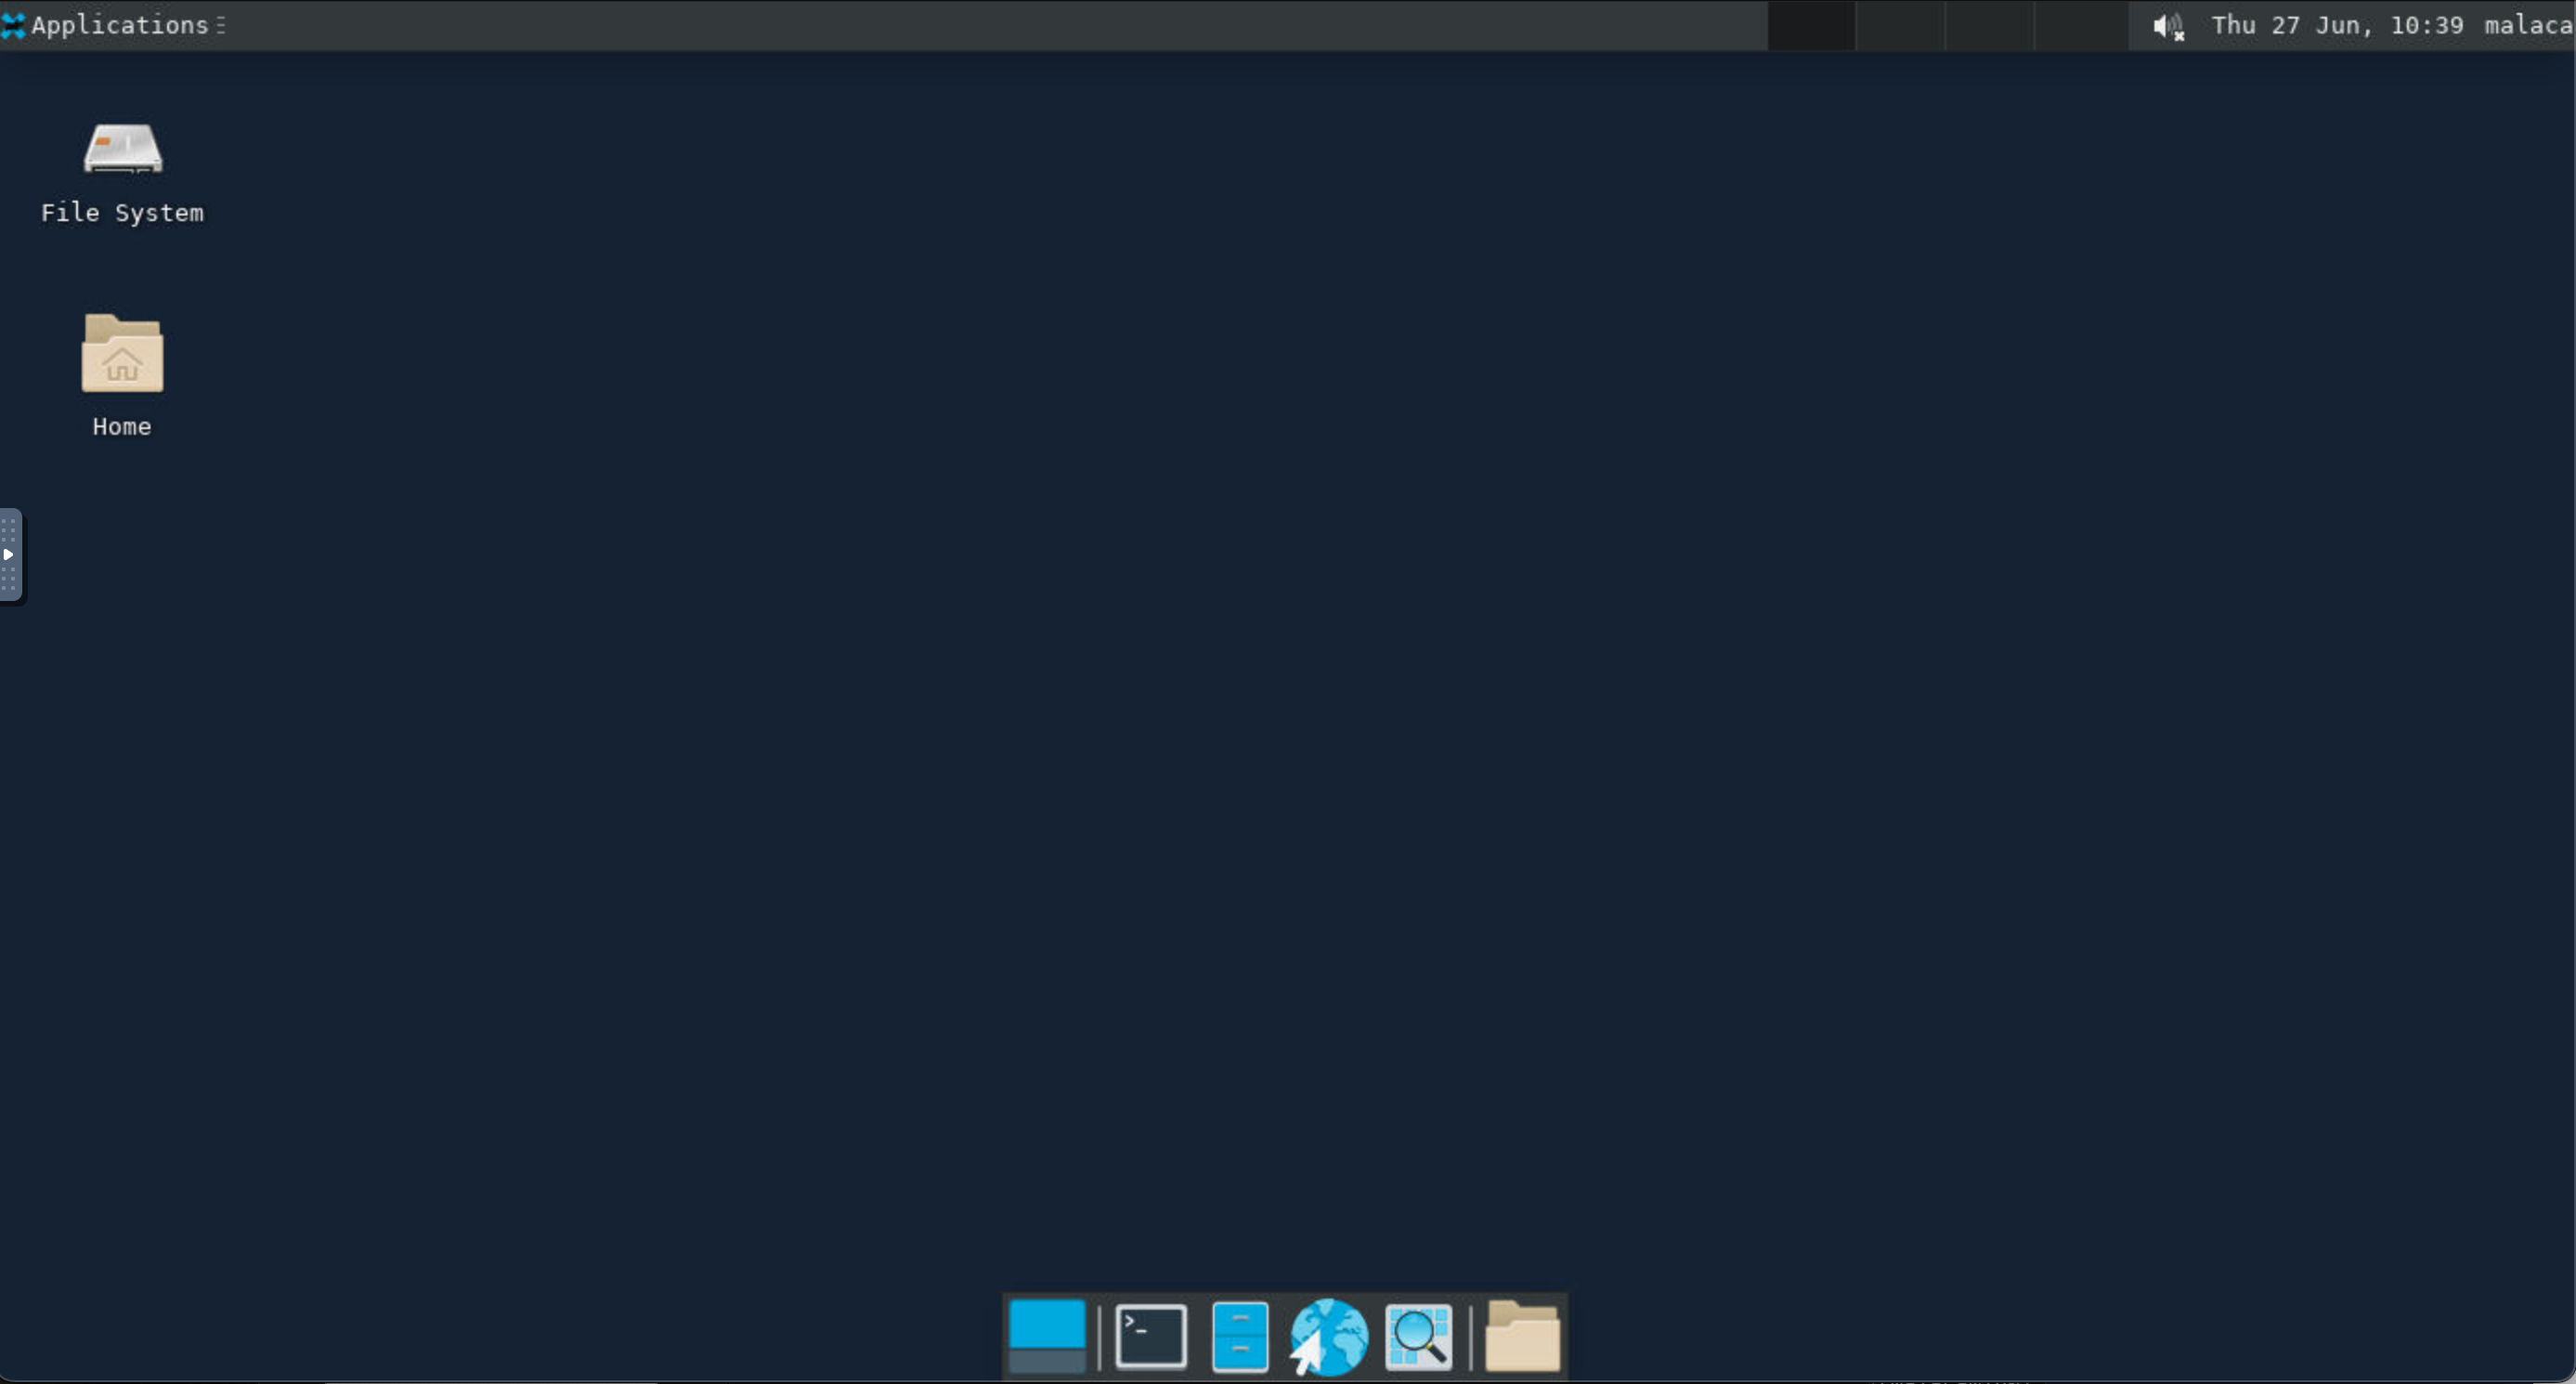
Bonus: If you want to access Paraview, create a desktop session using the x86 queue. After that go to /eb/x86_64/software/ParaView/5.11.1-foss-2023a-mpi/bin/ using the file manager:
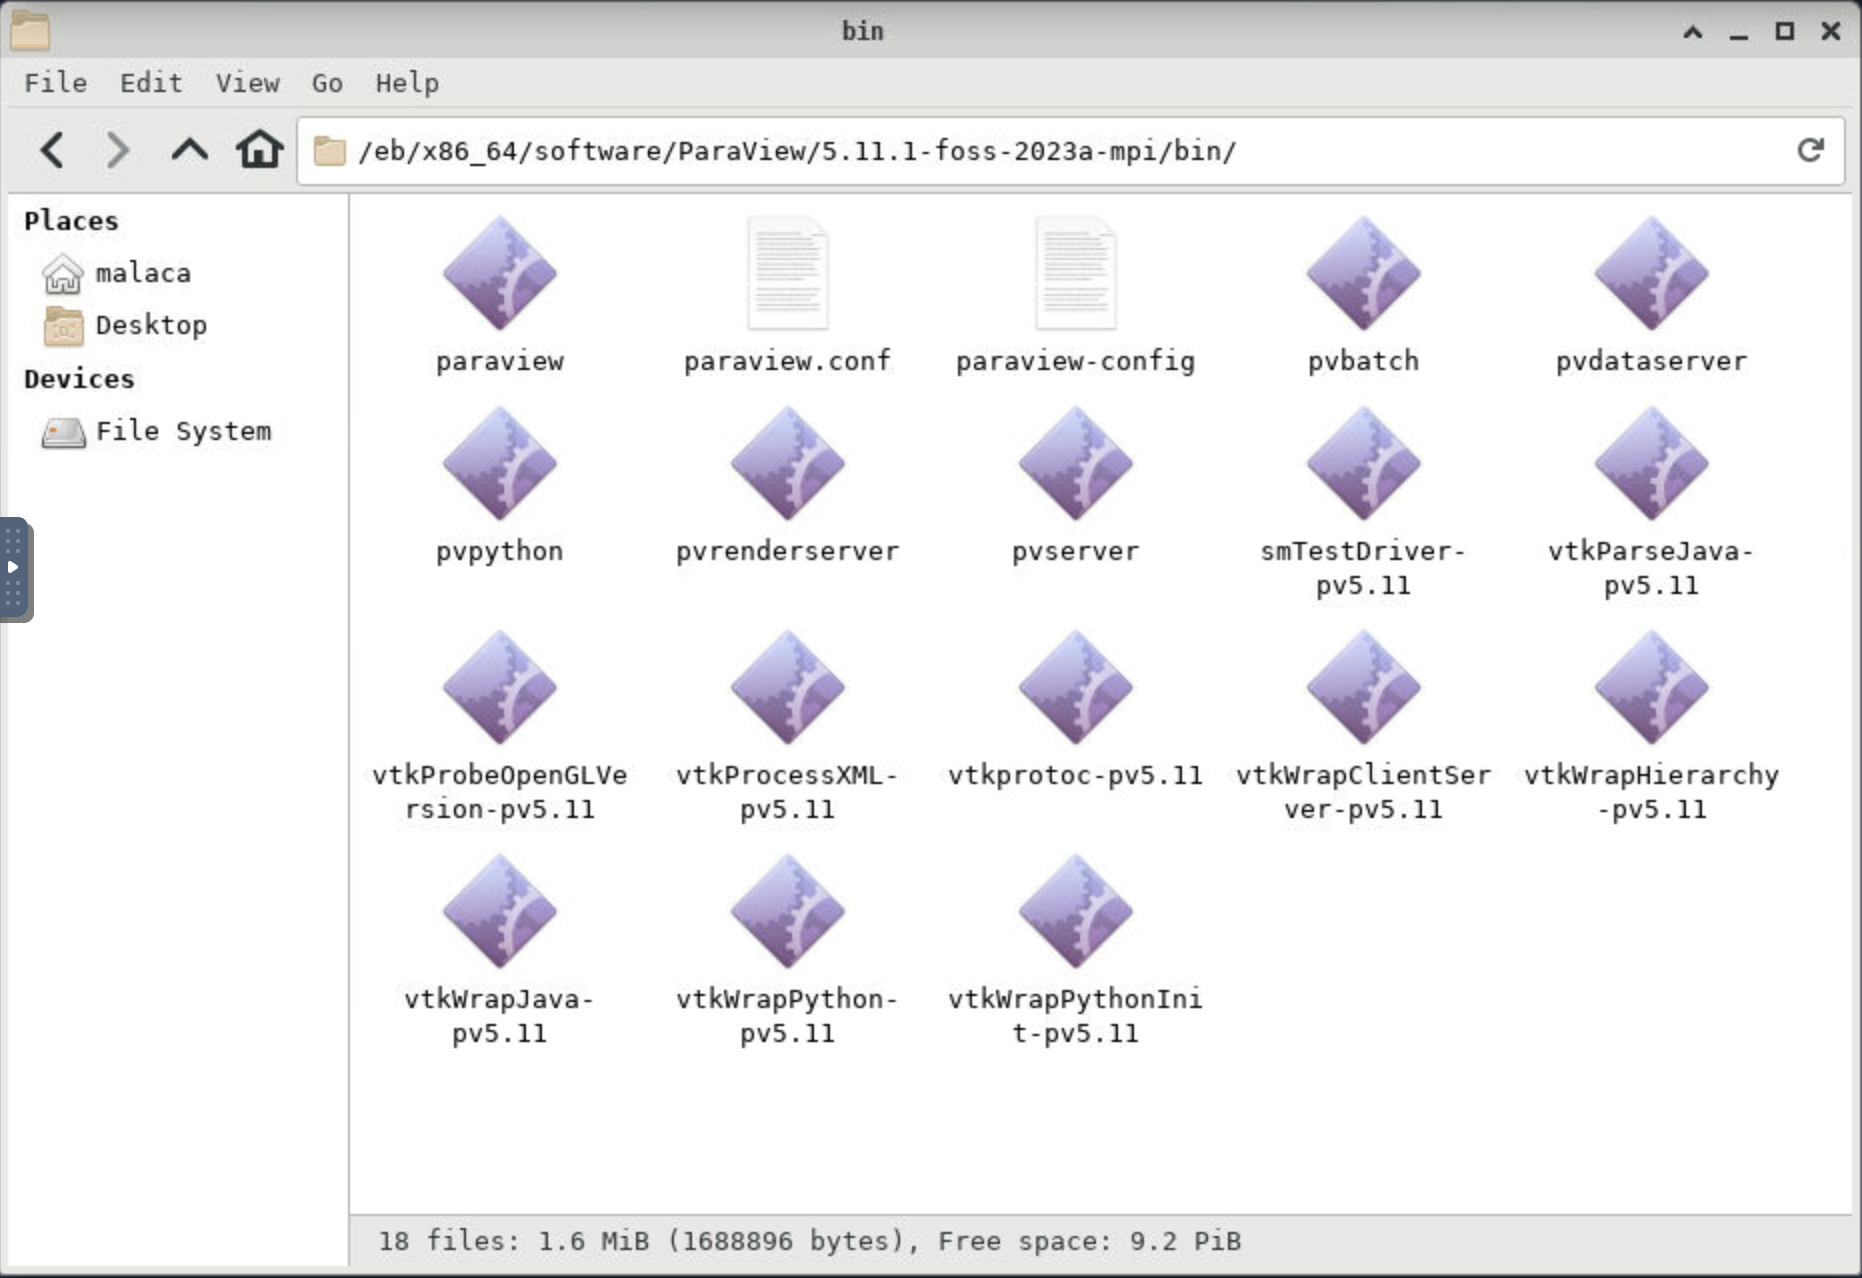
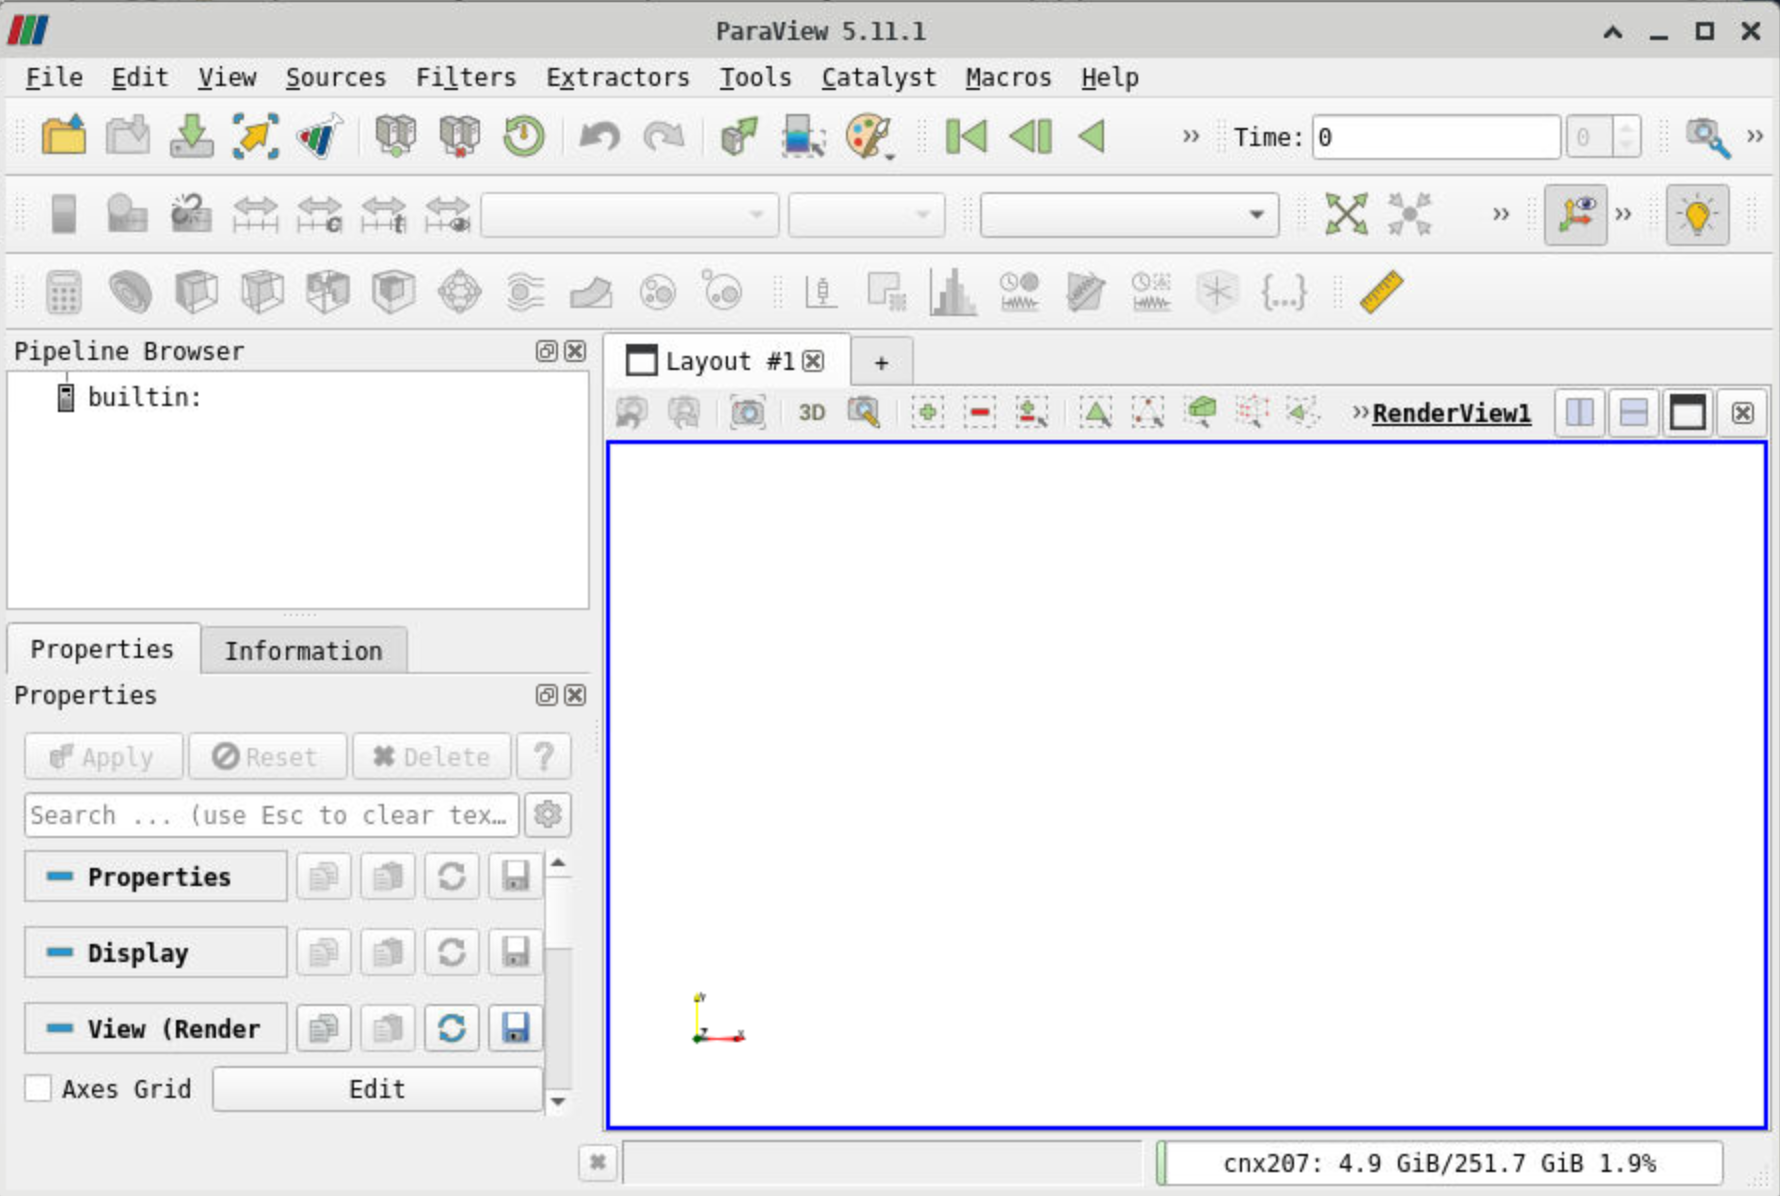
After clicking "paraview", you should be able to access Paraview:
Jupyter Notebook
Notice: Since all nodes are exclusive, you cannot ask for less than a full node's capability. The minimum you can ask of an arm/x86 node is 48/128 cores, respectively. Using this app for one hour in those conditions will bill you 48/128 core-hours.
After clicking on the Jupyter Notebook app, you see the app launcher
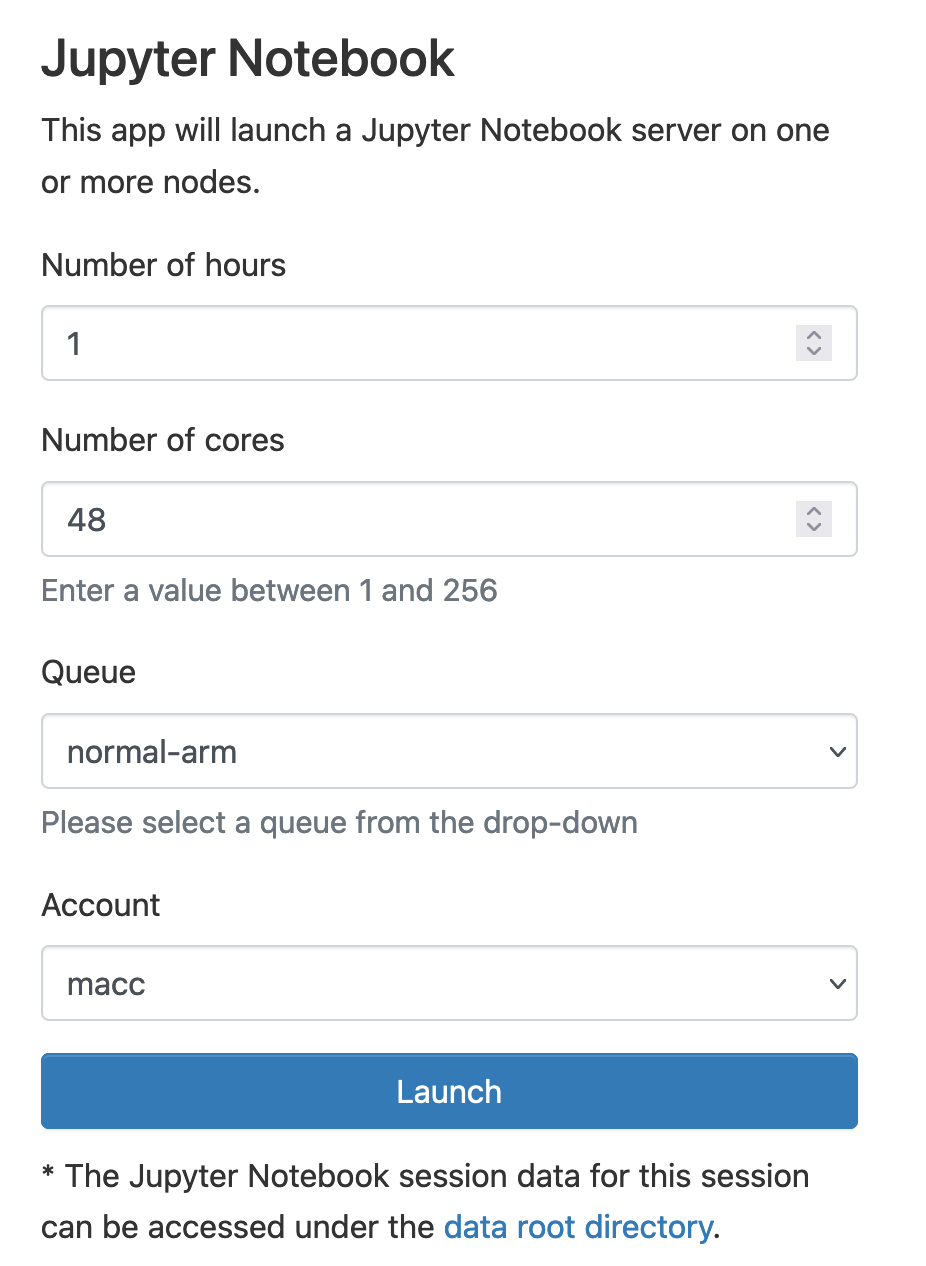
In this menu, you decide the number of hours, the number of cores, the partition where you wish to run jupyter (both arm and x86 work), and your account (related to your project number).
After you click "Launch", the job is queued, and you may have to wait before the job starts. When slurm runs the job, the information on the screen changes:
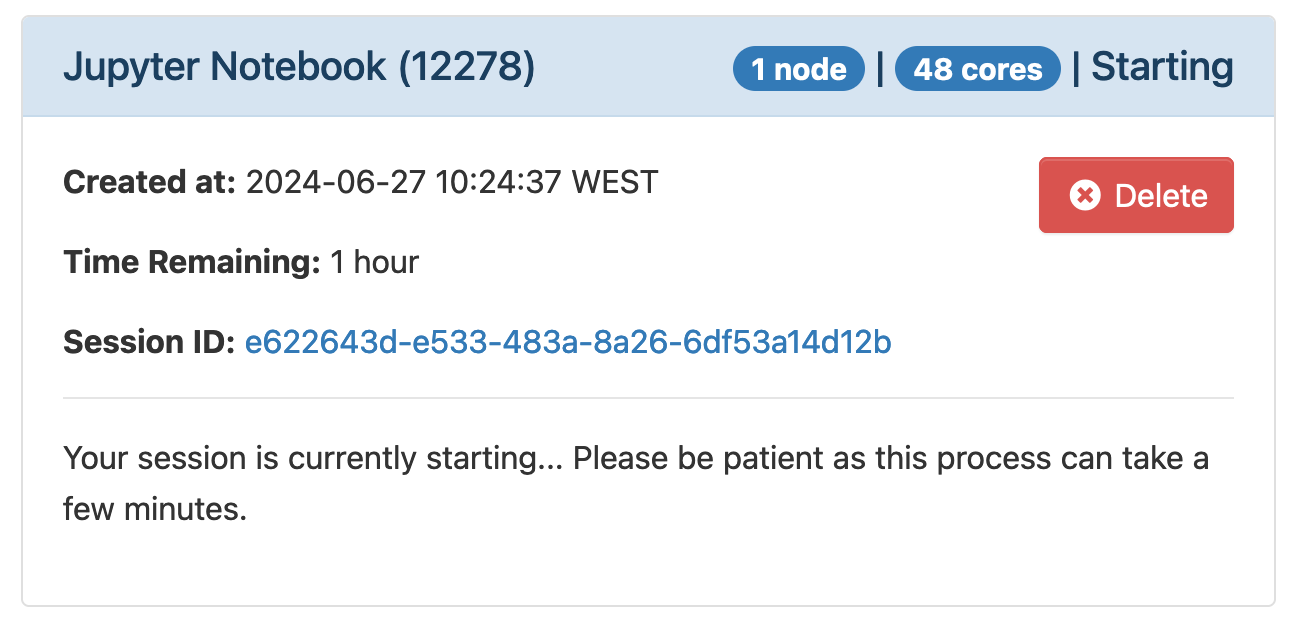
After setting up, the app allows you to connect to Jupyter:
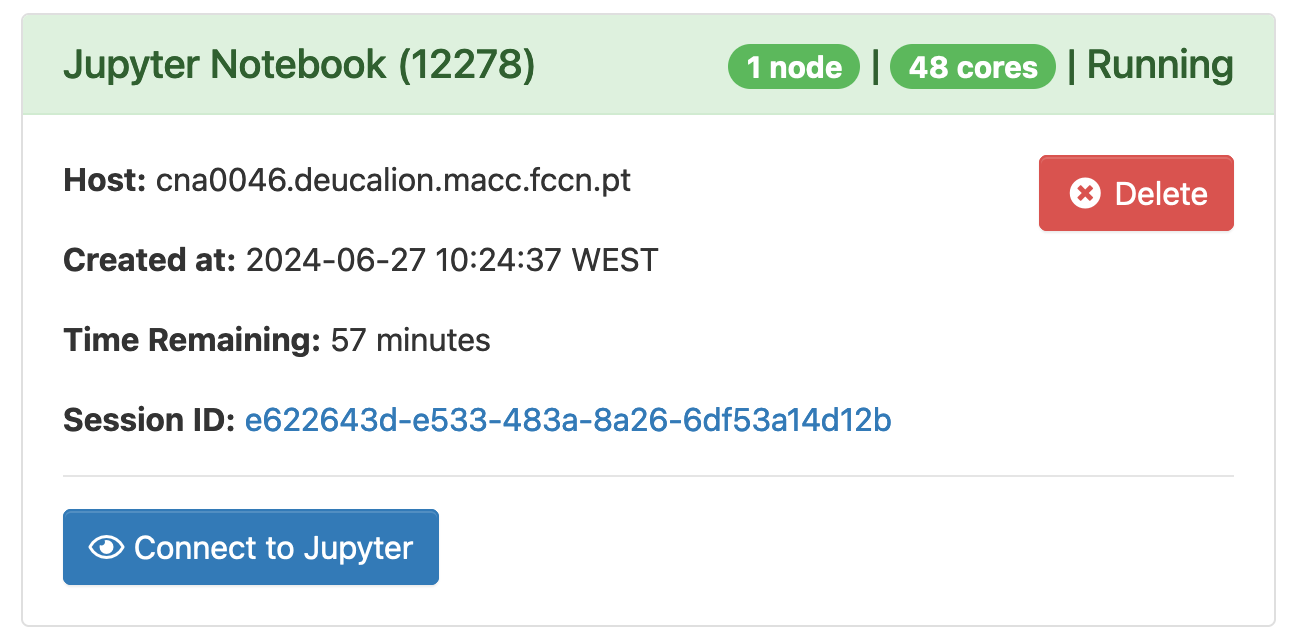
After clicking the "Connect to Jupyter" button, you have access to the jupyter dashboard! This particular jupyter app allows you to also run R code and Julia code:
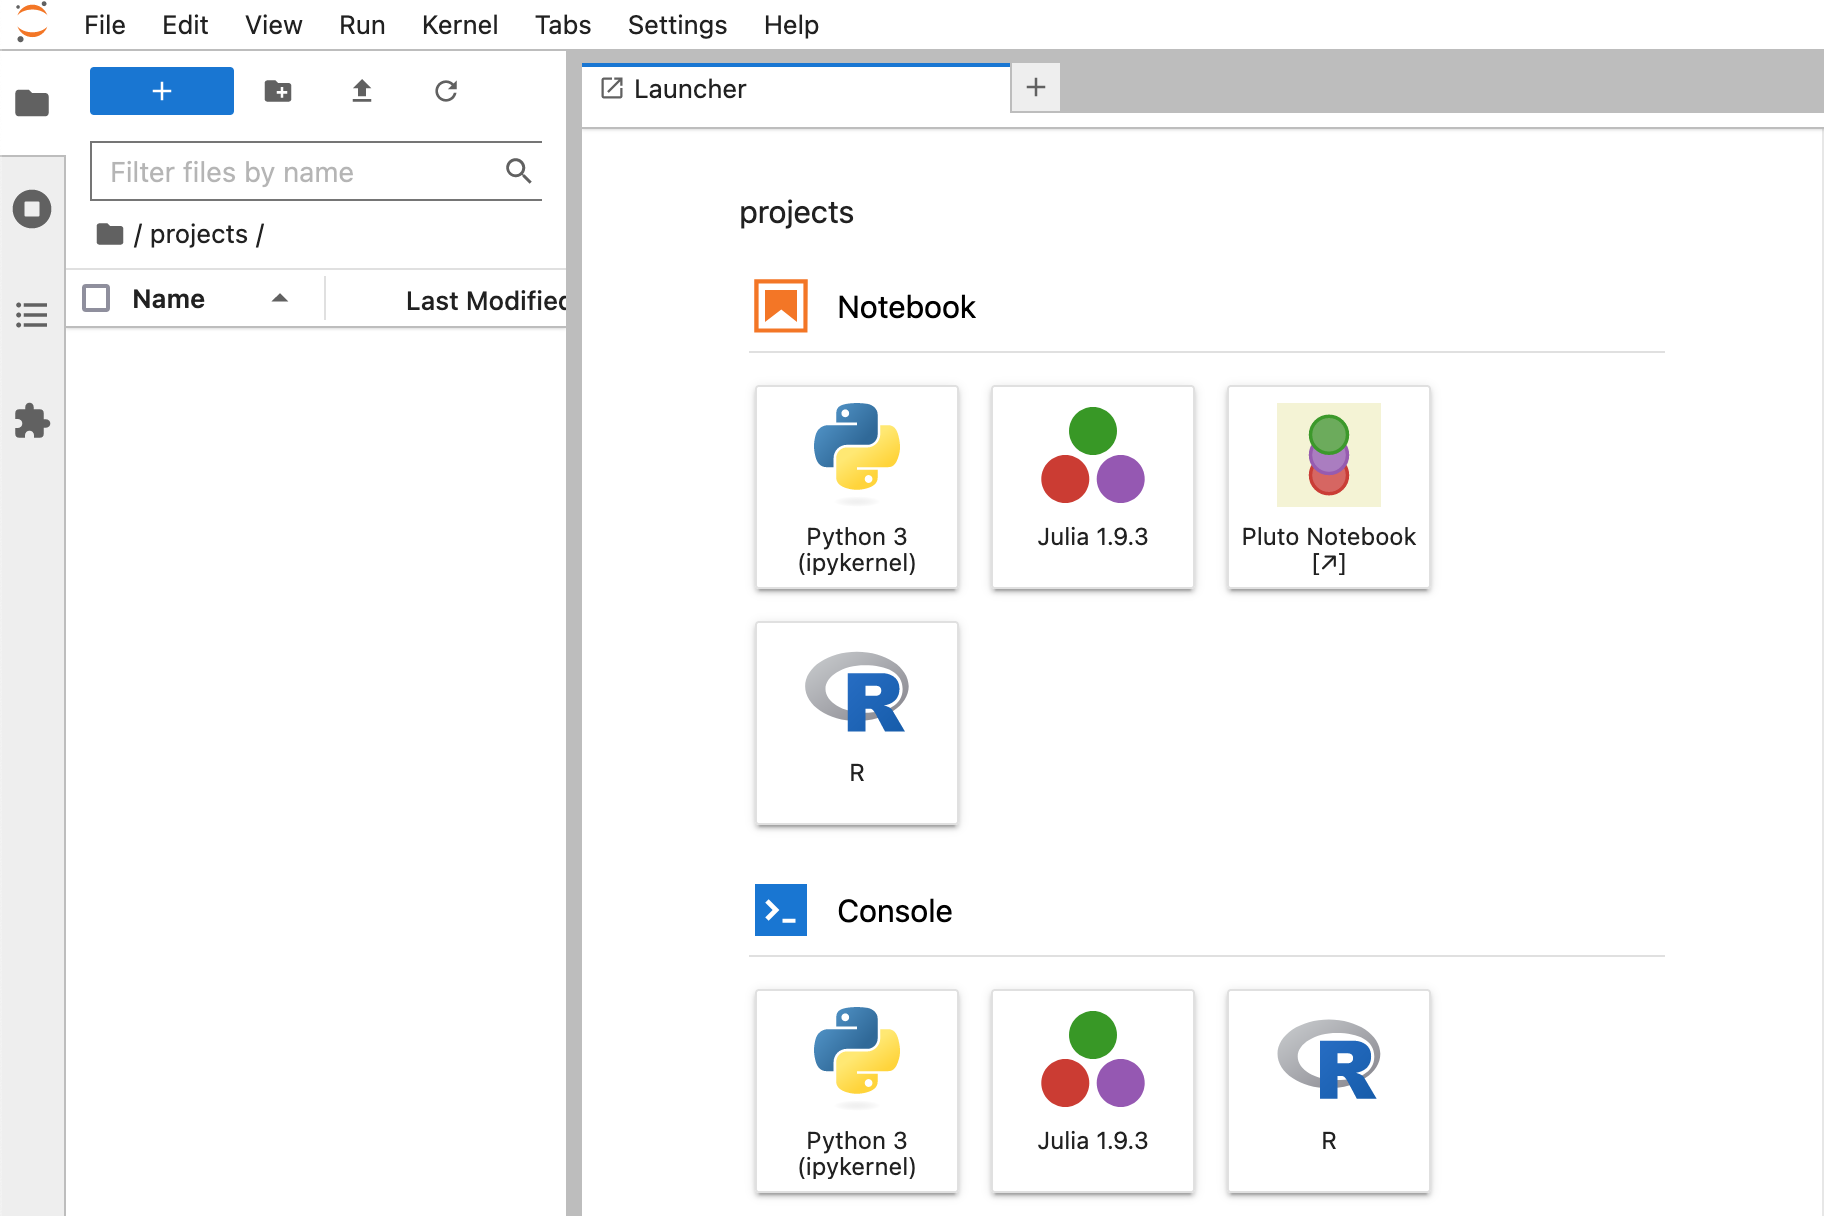
To create a notebook you must navigate to your project folder inside /projects on the left side of the screen.
Creating a new kernel
We give inside the app a container with a python kernel. Some packages (like numpy or matplotlib in the case of Python) are already installed, but your custom workflow may require packages that are not installed yet. For these cases you must create your own kernel.
To do this, create a python environment:
$ module load Python #you can choose other versions
#WARNING: create your virtual environment inside /projects!
$ python3 -m venv venv/ #This creates a python environment in the venv folder

$ source venv/bin/activate

(venv) $ pip3 install package1 package2 package3 #or pip3 install -r requirements.txt
(venv) $ pip3 install ipykernel #mandatory
(venv) $ python -m ipykernel install --user --name=<customenv>_<arch> --display-name "<customenv>_<arch>"
<customenv> is the desired name for the kernel and <arch> should be your architecture (either arm or x86). This is to prevent you of selecting an arm kernel when you are requesting an x86 machine (and viceversa).
After doing this you will be able to open a new tab in jupyter and select your custom kernel.
MLflow
Notice: Since all nodes are exclusive, you cannot ask for less than a full node's capability. The minimum you can ask of an arm/x86 node is 48/128 cores, respectively. Using this app for one hour in those conditions will bill you 48/128 core-hours.
Warning: This implementation of MLflow does not come with authentication. Other Deucalion users can look at your MLflow dashboard.
Before using MLflow, be sure to check the documentation. MLflow does not run any ML training or testing: its purpose is to log model parameters and performance metrics and show them in a digestible way.
To connect to MLflow, follow the same steps as for the Jupyter Notebook. After queueing, you can connect by clicking "Connect to MLflow". You will see the MLflow dashboard:

TensorBoard (x86 only)
Notice: This app only works for the x86 partition. Since all nodes are exclusive, you cannot ask for less than a full node's capability. The minimum you can ask of an x86 node is 128 cores Using this app for one hour in those conditions will bill you 128 core-hours.
Warning: This implementation of TensorBoard does not come with authentication. Other Deucalion users can look at your TensorBoard dashboard.
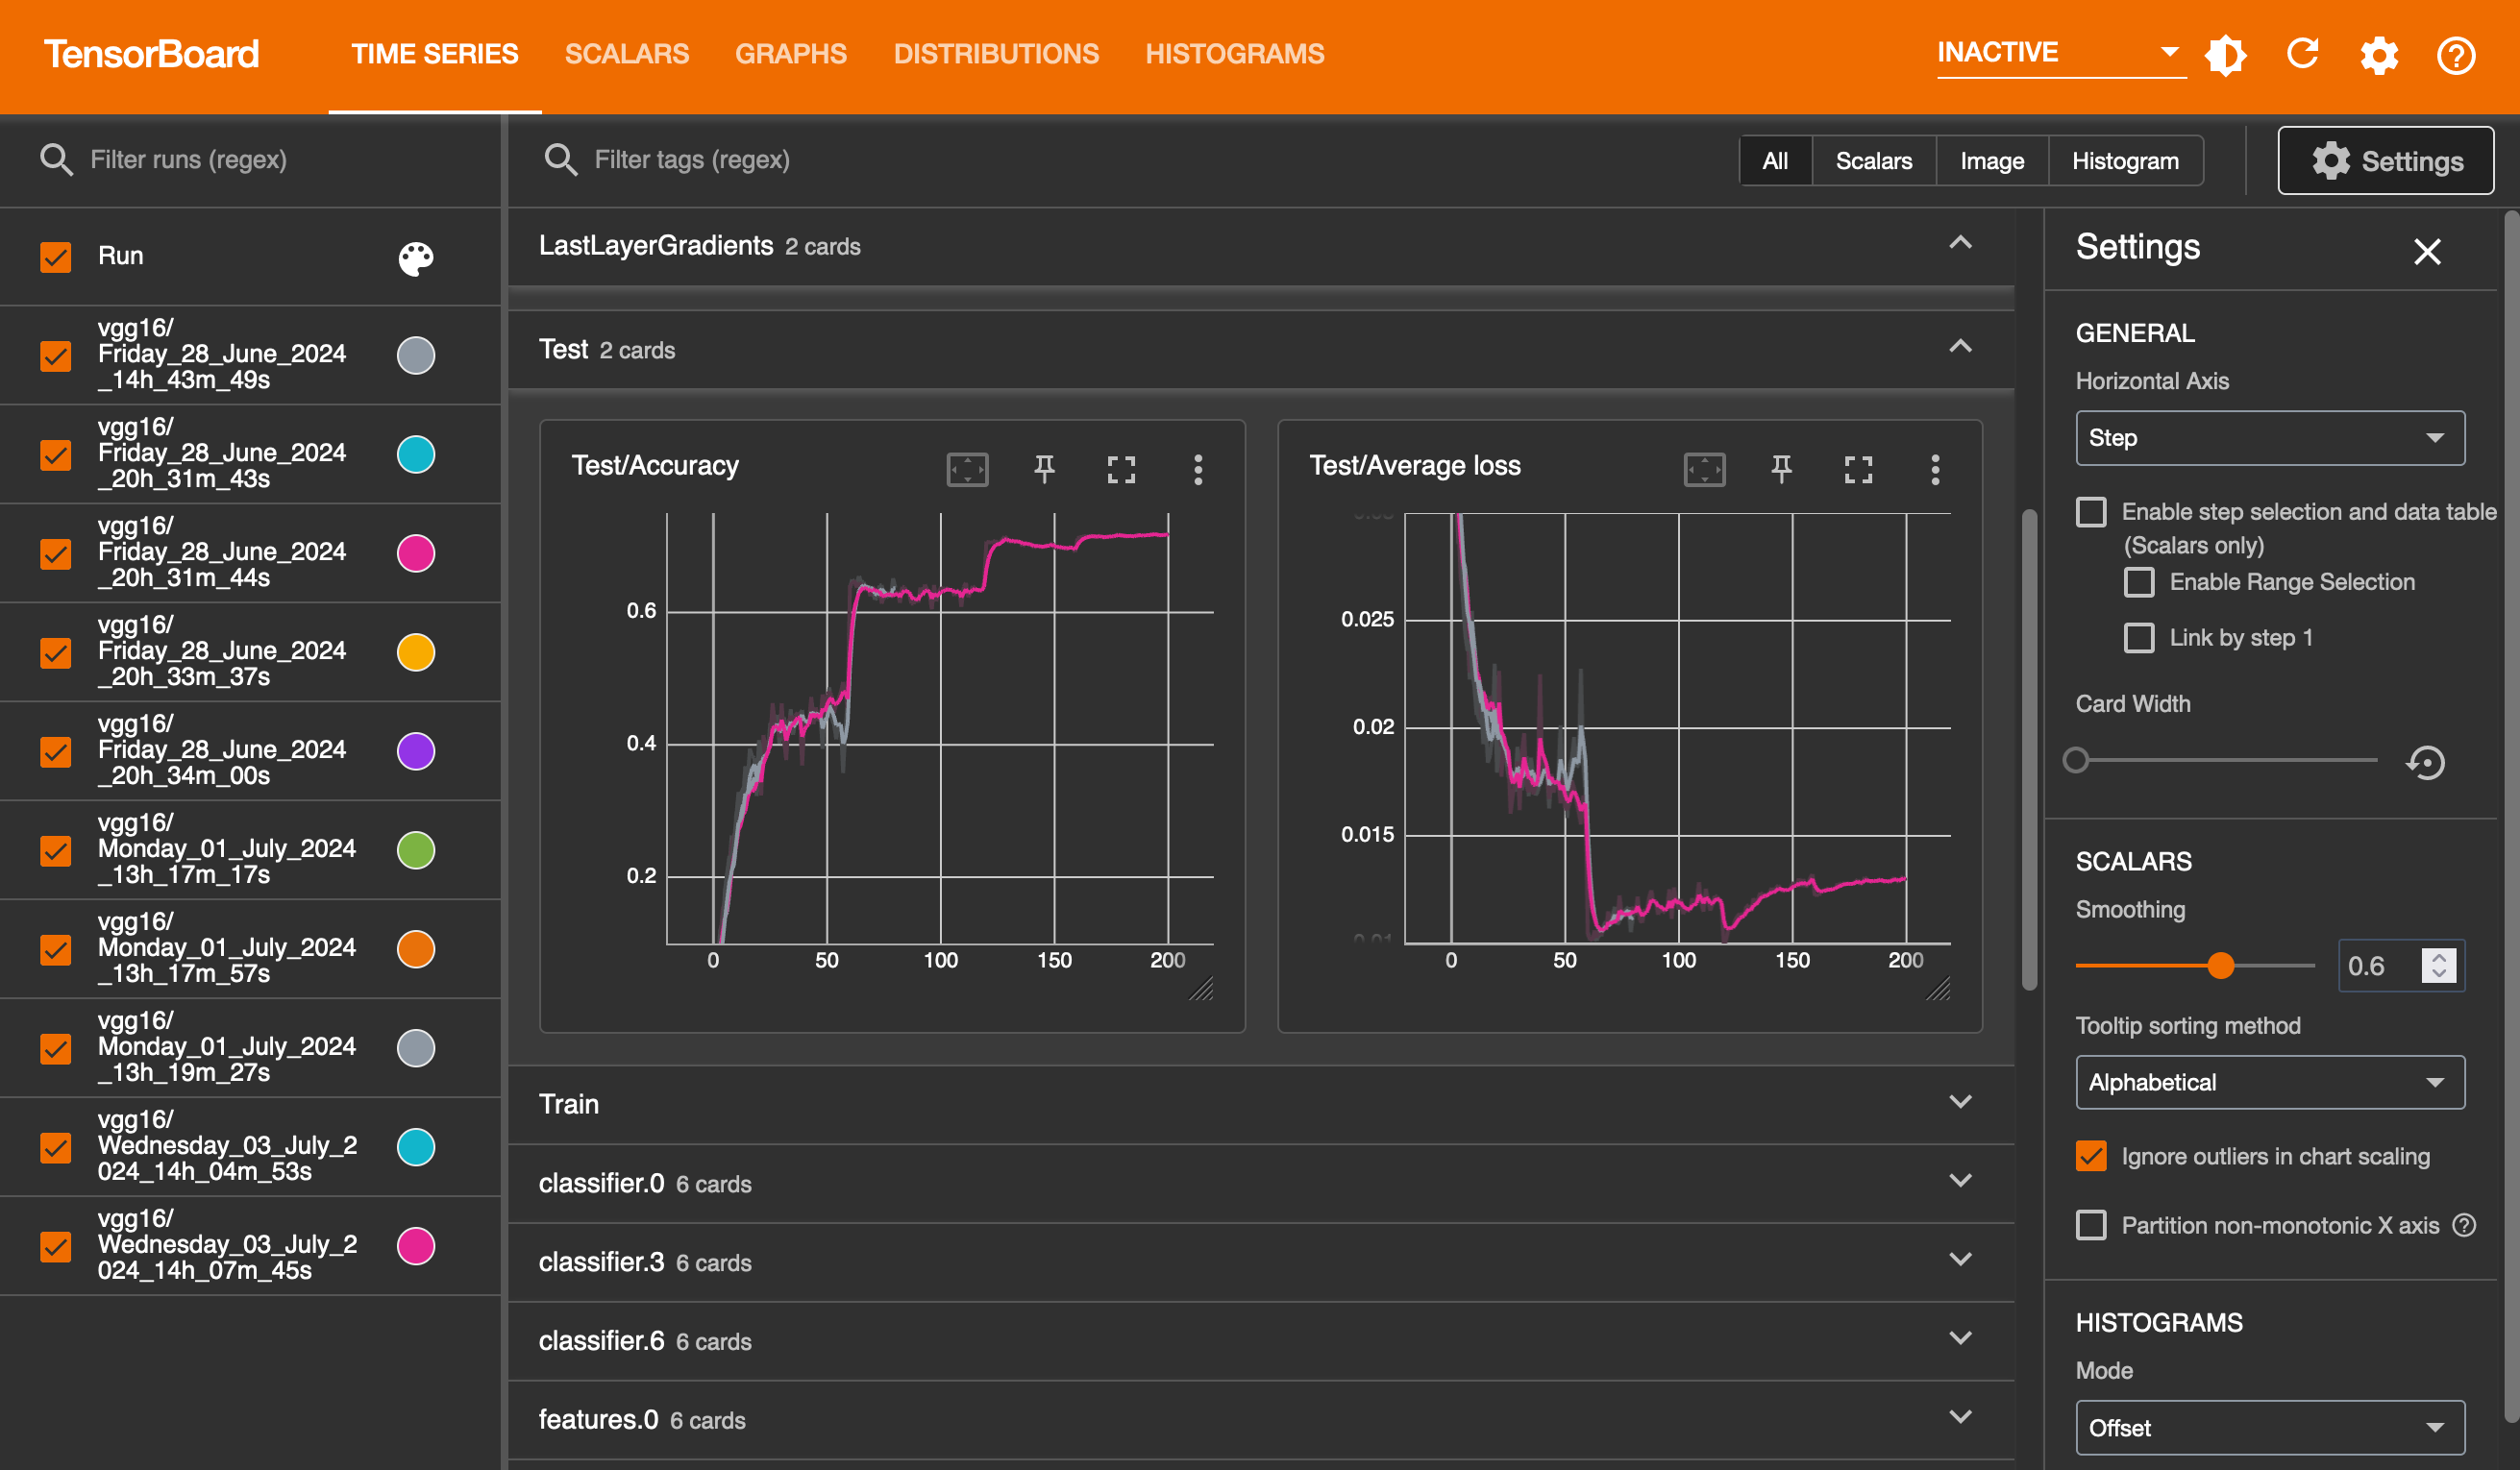
Before using TensorBoard, be sure to check the documentation. TensorBoard does not run any ML training or testing: its purpose is to log model parameters and performance metrics and show them in a digestible way.
To connect to TensorBoard, follow the same steps as for the Jupyter Notebook. After queueing, you can connect by clicking "Connect to TensorBoard". You will see the TensorBoard dashboard:
